
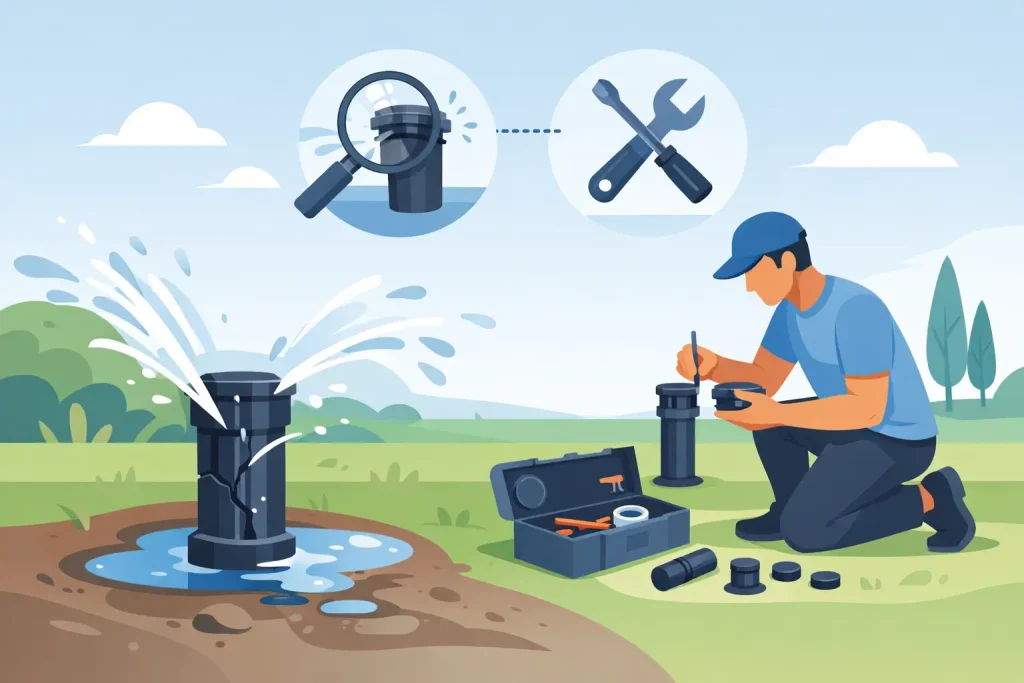
A sprinkler problem usually makes itself known at the worst time: a brown strip across the lawn, water running down the driveway, or one zone that will not shut off before a family gathering. Knowing how to repair broken sprinklers starts with identifying what the system is telling you. A dry area, a low-pressure head, and a soggy patch may all look like watering problems, but each points to a different repair.
For homeowners in Macomb and nearby communities, the goal is not just getting water flowing again. It is restoring even coverage without wasting water, damaging the lawn, or creating a larger underground leak. Some repairs are straightforward. Others require professional troubleshooting, especially when valves, wiring, backflow equipment, or buried lines are involved.
Start With a Safe, Simple Inspection
Before digging, changing parts, or adjusting the controller, turn off the irrigation system at the controller. If a head is broken and actively spraying, shut off the water supply to the irrigation system as well. This prevents a small repair from becoming a muddy, expensive mess.
Walk the affected zone while it runs, if it is safe to do so. Watch where water lands, how high each head rises, and whether water pools anywhere. It helps to run only one zone at a time so you can isolate the issue. A problem affecting every zone often points to the controller, main water supply, or backflow assembly. A problem limited to one zone is more likely a valve, wiring connection, broken pipe, or individual sprinkler-head issue.
Keep a few basic supplies on hand for minor repairs: a small shovel or hand trowel, replacement nozzles and heads that match your system, a screwdriver, pliers, a soft brush, and waterproof wire connectors if you are qualified to address a simple low-voltage connection. Matching the existing head matters. Installing a spray head where a rotor belongs, or using a nozzle with the wrong flow rate, can leave parts of the lawn overwatered and others dry.
How to Repair Broken Sprinklers by Symptom
The fastest way to make the right repair is to work from the symptom rather than replacing parts at random.
A sprinkler head will not pop up
A head that stays below grade may be buried by soil, mulch, turf growth, or a damaged riser. Turn off the water, then carefully remove soil around the head. Avoid pushing a shovel straight down next to it, since that can crack the fitting or cut the supply line.
Once exposed, clear dirt from around the cap and body. If the head is simply packed with debris, cleaning the area may allow it to rise normally. If the plastic body is cracked, tilted, or separated from the fitting below, replace it with the same type and height of head. The top of the new head should sit flush with the finished soil level. A head set too low will collect dirt. One set too high is more likely to be hit by a mower or tripped over.
The sprinkler sprays weakly or in an odd direction
Low or uneven spray is often caused by a clogged nozzle or filter. Unscrew the nozzle or cap according to the head style, then rinse the nozzle and filter with clean water. A soft brush can remove sand and small debris. Do not enlarge the nozzle opening with a pin, nail, or drill bit. That changes the spray pattern and can create a permanent coverage problem.
After reassembling the head, run the zone and adjust the arc or direction if needed. Water should reach the next sprinkler head in the pattern without spraying the house, fence, sidewalk, or street. For many lawns, proper head-to-head coverage is what keeps the grass consistent during hot, dry stretches.
If several heads in one zone have weak pressure, the issue is less likely to be a dirty nozzle. Look for a partially closed valve, a crushed pipe, a substantial leak, or too many incompatible heads on the same zone. These problems need a more careful diagnosis than a nozzle replacement.
Water pools around one sprinkler head
Pooling around a head while the zone is running can mean the fitting beneath it has cracked or the connection has loosened. Dig a wide, shallow area around the head until you can see the riser and fitting. Turn the zone on briefly only if you can do so safely and observe where water escapes.
A loose threaded connection may be corrected by removing the head and reconnecting it properly. A cracked fitting, split riser, or damaged flexible swing pipe should be replaced. Use irrigation-rated parts designed for the pipe and fitting type already in the ground. Improvised repairs can hold briefly, then fail under pressure and wash soil away from the line.
If water continues to collect around the head after the system shuts off, the zone valve may be leaking internally. A small amount of drainage from low-lying heads can be normal on some systems. Continuous seepage, however, deserves professional attention because it wastes water and can soften soil around hardscapes or foundations.
One zone will not turn on
First, confirm the controller is programmed correctly and that the correct zone is assigned a run time. Then try starting that zone manually from the controller. If the zone still does not activate, the problem may be a failed solenoid, damaged valve diaphragm, disconnected wire, or controller issue.
Valve boxes are often hidden in mulch beds or turf. Once located, remove dirt and debris from the box so you can inspect the valve without damaging wires. A valve that hums but does not open may have a mechanical problem. A valve that does nothing may have an electrical issue. Because irrigation wiring and valve troubleshooting can involve multiple possible faults, it is often more efficient to have a trained irrigation technician test the system rather than replacing components by trial and error.
A zone will not turn off
Turn off the irrigation water supply if a zone continues running after its scheduled cycle. A stuck valve can waste a surprising amount of water in a short time and may flood beds, walkways, or low areas of the yard.
Debris inside the valve, a torn diaphragm, or a damaged solenoid can keep a valve open. This is not a repair to ignore until the next service visit. If you cannot isolate and stop the water safely, contact an irrigation professional promptly.
Check the Controller Before Digging
A controller setting can imitate a serious system failure. Review the current date and time, seasonal adjustment setting, zone run times, and watering days. Power outages and battery failures can reset programming. Rain sensors can also prevent a system from running when they are working properly, so make sure a recent rain event or sensor setting is not the reason a zone appears inactive.
If zones run at unexpected times, skip cycles, or activate without a schedule, the controller may need reprogramming or replacement. Older controllers can be less reliable and less efficient than newer models that adjust watering based on weather conditions. Still, a new controller will not solve a buried leak or failing valve, so proper diagnosis comes first.
Avoid the Repairs That Create Bigger Problems
The most common homeowner mistake is replacing a visible sprinkler head without checking why it failed. A head repeatedly knocked out of alignment may be too high, installed beside a driveway edge, or attached to a poorly supported riser. A head that repeatedly clogs may indicate debris in the line or a missing filter.
Avoid digging blindly near trees, landscape lighting, invisible pet fencing, and utility lines. Do not glue or patch pressurized pipe unless the damaged area is fully exposed, dry, and properly prepared. Most importantly, do not alter backflow prevention equipment yourself. Backflow devices protect the household water supply from contamination, and repairs or testing may be subject to local requirements.
In Michigan, winterization also plays a major role in preventing broken sprinklers. Water left in lines, valves, or exposed components can freeze and crack parts before spring. A properly winterized system and a thorough spring startup reduce the chances of discovering leaks only after the lawn begins to dry out.
When It Is Time to Call an Irrigation Professional
A broken nozzle or misaligned head is often a manageable weekend repair. Call for professional service when you see unexplained wet spots, major pressure loss, recurring valve failures, damaged pipe, controller wiring issues, or problems with the backflow assembly. These situations can require locating underground components, testing electrical connections, adjusting system pressure, and repairing the source of the problem rather than the most visible symptom.
A professional inspection is also worthwhile when the system runs but the lawn still has dry patches. The solution may involve nozzle selection, head spacing, grading, plant growth, or zone design. Reeser Outdoor can assess irrigation performance alongside drainage, landscape health, and long-term maintenance needs, helping homeowners address the full condition of the property instead of chasing one sprinkler issue at a time.
A dependable irrigation system should quietly support a healthy lawn, not demand constant attention. Address small signs early, use matching components, and bring in qualified help when the repair reaches below the surface or involves the system’s controls and water-safety equipment.