
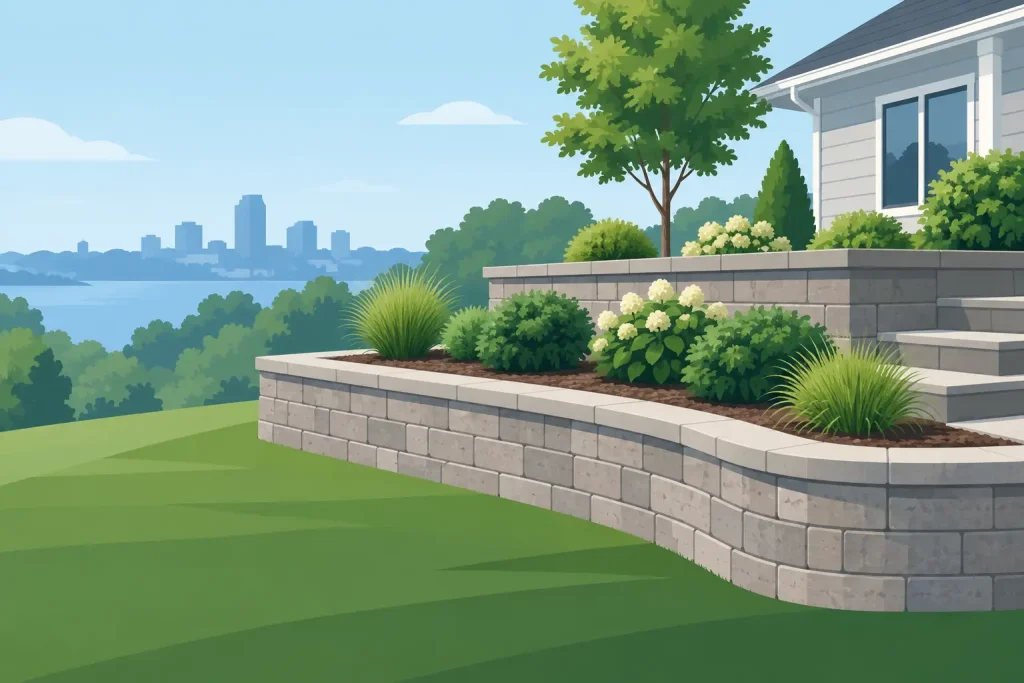
A retaining wall can turn a sloped, hard-to-use yard into level space for planting, play, parking, or a patio. It can also solve erosion and drainage problems that get worse with every heavy rain. This retaining wall planning guide helps Macomb-area homeowners make the decisions that determine whether a wall looks good for years or starts leaning, cracking, or holding water where it should not.
A successful wall is not just a row of attractive blocks. It is a small structural system made up of grading, compacted base material, drainage, reinforcement, and a thoughtful finish. Planning those pieces together before construction protects your investment and avoids the costly surprises that can come with a rushed installation.
Start With the Problem You Need the Wall to Solve
The best retaining wall projects begin with a clear purpose. Some homeowners need to hold back a hillside that is washing into the lawn. Others want to create a flat area for a new patio, expand a driveway, define a planting bed, or make a backyard easier to mow and maintain.
That purpose affects the wall’s height, location, layout, and construction method. A low landscape border may need only a compacted base and proper grading. A taller wall supporting a slope, driveway, or outdoor living area may require engineered reinforcement, drainage stone, geogrid, and local permit review.
Walk the property after rain if possible. Note where water collects, where downspouts discharge, and whether soil is moving downhill. A wall should address the cause of a drainage issue, not simply create a barrier that traps more water behind it.
Review Grades, Utilities, and Property Limits First
Before choosing block color or cap style, establish what is happening below and around the proposed wall. Macomb properties often have clay-heavy soil, which can hold water and put pressure on a wall when drainage is inadequate. Freeze-thaw cycles add another concern, especially when water sits in the base or behind the wall through winter.
A professional site review should consider the existing grade, nearby structures, downspouts, irrigation lines, mature tree roots, and access for installation equipment. The location of a garage, fence, pool, patio, or neighboring property can change the safest design.
Utility locations must be identified before digging. It is also wise to confirm property lines rather than assuming a fence or landscape edge marks the boundary. A retaining wall that crosses onto a neighboring lot can become a difficult and expensive issue, even when the work itself is well built.
Know When Permits or Engineering May Apply
Permit requirements vary by municipality, wall height, location, and what the wall supports. Walls near property lines, public sidewalks, driveways, septic components, or structures may have additional requirements. Taller walls commonly need engineered plans, particularly when they support surcharge loads such as vehicles, a patio, or a building foundation.
Do not treat a permit as unnecessary paperwork. It is a checkpoint that helps ensure the wall is designed for the conditions on your site. A qualified contractor can help homeowners understand the local process, build the project to the approved scope, and coordinate the work in the right order.
Choose Materials Based on Performance, Not Just Appearance
Segmental concrete retaining wall block is a popular choice because it offers a finished appearance, flexible layouts, and a wide range of colors and textures. It works well for curved walls, terraced yards, raised planting areas, and coordinated patio projects. Quality block systems also have matching caps and corner units for a clean, intentional result.
Natural stone can create a more traditional or rustic look, but it requires skilled placement and careful material selection. Poured concrete may suit certain modern designs or structural applications, although it needs proper footing, drainage, reinforcement, and control joints to limit cracking.
Wood timbers are sometimes considered for lower-budget projects, but they generally have a shorter service life than masonry systems and can be vulnerable to rot, shifting, and hardware failure. They may make sense in a temporary or informal setting, but homeowners planning for long-term value usually benefit from considering masonry options.
The right material should complement the home, existing hardscaping, and maintenance expectations. It should also match the wall’s job. A decorative garden edge and a six-foot grade-change wall should not be designed to the same standard.
Build Drainage Into the Retaining Wall Plan
Water is the most common reason retaining walls fail. Saturated soil becomes heavy, and that hydrostatic pressure pushes against the back of the wall. Without a place for water to go, even a beautiful installation can shift, bulge, or settle over time.
A properly planned system typically includes free-draining aggregate behind the wall, a perforated drain tile near the base, and a suitable outlet that moves water away from the structure. The wall should also be backfilled and graded so surface water flows away rather than running directly behind it.
Downspouts deserve special attention. Sending roof runoff behind a retaining wall can overwhelm its drainage system. In many cases, downspout extensions or buried drainage lines should carry that water to a designated discharge area instead.
Drainage plans depend on the site. A shallow decorative wall in a well-drained area may need a simpler solution than a wall below a sloping lawn or near a patio. The important point is that drainage should be part of the initial design and budget, not an add-on after the wall has been installed.
Plan the Structure From the Ground Up
The visible face of a wall gets attention, but its long-term stability starts below grade. Excavation needs to reach stable soil and allow room for a compacted granular base. The first course of block is often buried partially below finished grade, which helps anchor the wall and provides a more natural finished look.
Each course must be level, aligned, and properly compacted as the wall rises. Taller walls may require geogrid reinforcement extending back into the soil behind the wall. That reinforcement creates a larger stabilized mass, helping the wall resist the pressure of the retained earth.
Avoid the temptation to build one tall wall simply because it appears less expensive. In some yards, two or more terraced walls are a better solution. Terracing can reduce pressure on each wall, create attractive planting areas, and soften a steep slope. It does take more space and may add materials, so the right choice depends on the grade, available yard area, and intended use.
Consider Access and Construction Impacts
A wall project affects more than the final footprint. Excavation equipment, deliveries of block and aggregate, and soil removal all need access to the work area. Plan for how crews will protect lawns, driveways, and nearby landscape beds during construction.
If irrigation, lighting, or drainage improvements are planned, coordinating them before the final backfill can prevent future excavation. This is one advantage of working with an outdoor contractor that understands both hardscaping and landscape infrastructure: the wall, planting, irrigation, and finish grading can be planned as one connected project.
Create a Finished Look That Works With Your Yard
A retaining wall should feel like it belongs on the property rather than appearing as an isolated structure. Curves can follow the natural grade and soften the transition between lawn and planting beds. Caps provide a polished top edge and can double as casual seating around a patio or fire feature when the wall is built at the proper height.
Planting also matters. Deep-rooted perennials, shrubs, and groundcovers can help stabilize soil above the wall while adding color and texture. Leave enough room for mature plant size and maintenance access. Crowding large shrubs against a wall can complicate pruning and make future repairs harder.
Lighting is another practical upgrade. Low-voltage fixtures along steps, wall caps, or adjacent paths improve visibility and make the space more usable in the evening. The wiring should be planned before final grading and planting, not buried as an afterthought.
Set a Realistic Budget and Scope
Retaining wall pricing is shaped by much more than square footage. Wall height, excavation depth, soil conditions, drainage requirements, reinforcement, access, material choice, curves, stairs, caps, and demolition all affect the final cost. A transparent proposal should separate the major components so you understand what is being built and why.
Be cautious with estimates that focus only on the visible block. A lower initial price can leave out base preparation, drainage stone, drain tile, reinforcement, soil removal, or finish grading. Those are not optional details on a wall that needs to perform through Michigan weather.
Ask how the contractor handles changes if unexpected site conditions are found. Clear communication about allowances, timeline, cleanup, and warranty coverage helps prevent frustration once work begins.
Plan for Maintenance From Day One
Well-built retaining walls need relatively little routine maintenance, but they should not be ignored. Check them each spring for settled areas, loose caps, cracks, blocked drainage outlets, or soil washing out above the wall. Keep mulch and soil from covering drain outlets, and make sure downspouts continue to direct water away from the structure.
If you notice a wall beginning to lean, bow, separate, or retain standing water, address it early. Small grading or drainage corrections are far more manageable than rebuilding a wall after structural movement has progressed.
A retaining wall should give your property more useful space and fewer worries, not create another maintenance problem. With a plan that respects drainage, soil conditions, local requirements, and how your family uses the yard, the finished wall can become the dependable foundation for everything you want to build around it.